Looking to bring a splash of creativity and visual appeal to your space? Ever wondered if you can create a stunning mural on your wall using nothing but paint? Well, the good news is, you absolutely can! With a little bit of planning, inspiration, and the right tools, you can transform your blank canvas into a work of art that reflects your unique style and personal vision. Whether you’re an aspiring artist or simply looking to add some artistic flair to your home, let’s explore the exciting world of mural painting and discover how you can bring your walls to life with color and imagination.
Choosing the Right Paint
When it comes to creating a mural on your wall, one of the most important factors to consider is choosing the right paint. The type of paint you use will greatly impact the final result and the longevity of your mural.
Consider the Wall Surface
Before deciding on the type of paint, you need to consider the surface of your wall. Is it smooth or textured? Is it indoor or outdoor? These factors will help determine the best paint for your project. For smooth indoor walls, acrylic paint is a great choice. It is easy to work with, dries quickly, and is durable. If you have textured walls or plan to paint an outdoor mural, you may want to consider using latex or oil-based paints, as they have better adhesive properties and can withstand harsh weather conditions.
Select the Appropriate Paint Type
Once you have considered the surface of your wall, you can select the appropriate paint type. Acrylic paint is a popular choice for indoor murals due to its versatility and ease of use. It comes in a wide range of colors, is water-based, and can be easily cleaned up with soap and water. For outdoor murals or textured walls, latex or oil-based paints are recommended, as they have better durability and can adhere to the surface more effectively.
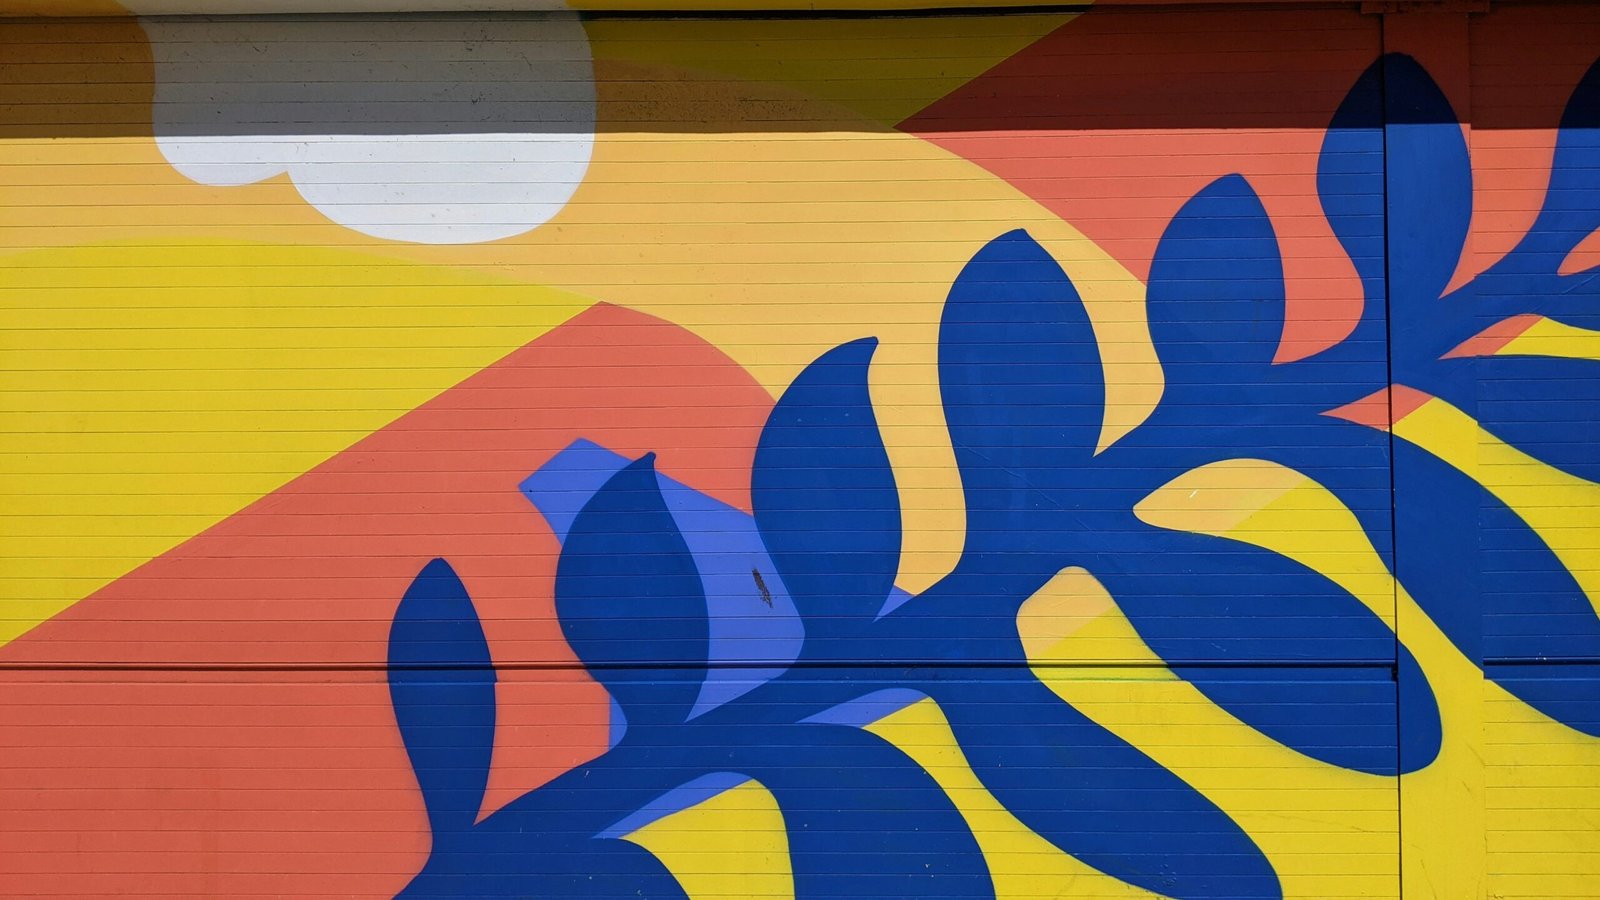
Choose the Colors
Choosing the right colors for your mural is essential to achieve the desired aesthetic. Think about the theme or mood you want to convey and how the colors will complement the overall design. Consider using a color palette that harmonizes with the existing décor of the room or matches the surrounding environment for outdoor murals. Experiment with different color combinations and consider using a color wheel to help you select complementary or contrasting colors that will make your mural pop.
Preparing the Wall
Before you can start painting your mural, it’s crucial to prepare the wall properly. A well-prepared surface will ensure better adhesion and longevity of your mural.
Clean the Wall
Start by cleaning the wall thoroughly. Remove any dust, dirt, or grease using a mild detergent or cleaner. Scrub the surface gently with a sponge or soft brush and rinse with clean water. Allow the wall to dry completely before proceeding to the next step. Cleaning the wall will provide a clean and smooth canvas for your mural and ensure that the paint adheres properly.
Repair Any Damages
Inspect the wall for any damages such as cracks, holes, or uneven surfaces. Fill in any holes or cracks with spackling compound or joint compound and smooth it out using a putty knife. Sand the repaired area until it is smooth and blend it with the surrounding wall. If there are any rough patches or uneven surfaces, use sandpaper to smooth them out. By repairing and smoothing the wall, you will create a seamless surface for your mural.
Apply a Primer
Once the wall is clean and repaired, it’s a good idea to apply a primer before painting. A primer acts as a foundation for the paint and helps it adhere better to the surface. It also helps to prevent the mural from bleeding or fading over time. Choose a primer that is specifically designed for the type of paint you will be using. Apply the primer evenly with a roller or brush and allow it to dry completely before starting your mural. Primer will provide a smooth and uniform base for your paint and enhance the vibrancy of the colors.

Creating the Mural Design
Now that you have prepared the wall, it’s time to get creative and start planning your mural design.
Sketch Your Design
Begin by sketching your design on paper. Consider the dimensions of your wall and scale your design accordingly. This will help you visualize how the mural will look once it’s painted on the wall. Experiment with different compositions and elements until you are satisfied with the overall concept. Keep in mind that your mural should be visually appealing and convey a message or theme that resonates with you.
Use Projector or Grid System
If you are looking for a more precise way to transfer your design onto the wall, you can use a projector or a grid system. A projector allows you to project your sketch directly onto the wall, making it easier to trace and paint the details accurately. Alternatively, you can divide your sketch into a grid and replicate it on the wall using a corresponding grid. This method helps you maintain the proportions and scale of your design.
Make a Stencil
For larger murals or complex designs, creating a stencil can be a helpful technique. Once you have finalized your design, transfer it onto a sturdy material such as cardboard or plastic. Carefully cut out the shapes and details using a craft knife to create your stencil. Stencils can be especially useful when working with repeating patterns or intricate designs. They ensure consistency and precision throughout the mural.
Gathering the Supplies
Before you can start painting, gather all the necessary supplies to ensure a smooth and enjoyable process.
Paintbrushes
Invest in a variety of paintbrushes to cater to different techniques and details in your mural. Flat brushes are suitable for larger areas, while round brushes are ideal for adding finer details. Experiment with different brush sizes and shapes to achieve the desired effects.
Various Paint Colors
Choose a range of paint colors that align with your mural design. Acrylic paints offer a wide selection of colors to choose from. Consider using a mix of primary colors to create your desired shades and hues. Don’t forget to include black and white, as they can be useful for creating shadows and highlights.
Palette
A palette is essential for mixing and blending your paint colors. It can be a simple plastic or ceramic surface where you can mix your paints without worrying about them drying out. Having a palette allows you to experiment with color combinations and create unique shades.
Drop Cloths
Protect your surrounding surfaces by laying down drop cloths or plastic sheets. This will prevent any accidental paint splatters or spills from damaging your floors or furniture. Ensure that the drop cloth covers a wide area to catch any paint drips while you work.
Painter’s Tape
Use painter’s tape to create clean edges and sharp lines in your mural. It can be applied to mask off areas that you don’t want to paint or to create precise borders between different colors or elements. Painter’s tape is easy to remove without damaging the underlying layers of paint.
Easel or Ladder
Depending on the height of your mural, you may need an easel or a ladder to reach higher areas. An easel provides a stable platform for painting and allows you to work comfortably at eye level. If your mural spans multiple heights, a ladder will be essential to access those hard-to-reach areas.

Setting Up Your Workspace
Before you begin painting your mural, it’s important to set up your workspace properly. This will ensure that you have enough space to move around and work comfortably.
Clear the Area
Remove any furniture or obstacles that may impede your painting process. Having a clear area will give you the freedom to navigate around the wall without any hindrances. Store any unnecessary items safely out of the way to prevent accidental damage.
Protect the Surrounding Surfaces
Cover any surfaces that you do not want to be exposed to paint. Use painter’s tape to secure drop cloths or plastic sheets to the floor and any nearby furniture. This will not only protect your belongings but also make clean-up much easier once you have completed your mural.
Set Up Your Workspace
Arrange your supplies in an organized manner within easy reach of your painting area. Place your palette, paintbrushes, and paints on a sturdy table or easel tray. Ensure that you have enough lighting in the room to see the colors accurately and any details in your mural.
Painting Techniques
Now that you have prepared your workspace, it’s time to dive into the painting process. Here are some techniques you can use to bring your mural to life.
Layering and Blending Colors
Layering and blending colors can add depth and dimension to your mural. Start with a base layer and gradually build up additional layers to create shadows and highlights. Blend colors together using a dry brush technique or by gently layering them over each other while they are still wet. Experiment with various blending techniques to achieve the desired effect.
Using Different Brush Strokes
Brush strokes can greatly impact the overall look and texture of your mural. Experiment with different brush strokes such as stippling, cross-hatching, or dry brushing to create unique effects and textures. Varying the pressure and angles of your brush strokes can also add depth and movement to your mural.
Creating Texture
Texture can bring your mural to life and give it a three-dimensional quality. Use various techniques to create texture such as sponging, splattering, or using palette knives to apply paint. Consider the elements in your mural and use appropriate texture techniques to enhance them. For example, if you are painting leaves, lightly dragging a dry brush over the wet paint can create a leaf-like texture.
Adding Details and Highlights
Once you have established the base layers and overall composition of your mural, it’s time to focus on adding details and highlights. Pay attention to the smaller elements and finer details in your design. Use lighter shades or mix in some white paint to create highlights and make certain areas stand out. This will add depth and create focal points in your mural.

Starting the Mural
With your painting techniques in mind, it’s time to begin working on your mural.
Transfer the Design onto the Wall
If you have sketched your design directly onto the wall, you can skip this step. However, if you have used a projector or a grid system, transfer your design onto the wall using a pencil or chalk. Take your time to ensure the lines are accurate and well-defined. This will serve as a guide for you to follow while painting.
Outline the Main Shapes
Start by outlining the main shapes and elements of your design. This will help you establish the composition and ensure that your mural is visually balanced. Use a small paintbrush and a thin layer of paint to create the outlines. Take your time and double-check the proportions and placements before proceeding.
Paint the Background
Once you have outlined the main shapes, it’s time to paint the background. Start with a base color and gradually build up additional layers. Use larger brushes or rollers for larger areas and switch to smaller brushes for more intricate details. Blend the colors and layer them to create depth and variation in the background.
Work from Background to Foreground
To maintain a sense of depth in your mural, it’s best to work from the background to the foreground. This will prevent any overlapping or smudging of colors and allow you to make adjustments as needed. Build up the layers and details gradually, allowing each layer to dry before adding the next. This method ensures a cohesive and well-defined mural.
Painting Tips and Tricks
As you paint your mural, keep these tips and tricks in mind to make the process smoother and more enjoyable.
Work Systematically
To avoid getting overwhelmed, work on one section of your mural at a time. This will help you stay organized and focused. Start with the larger elements and gradually move on to the smaller details. Take breaks between sections to evaluate your progress and make any necessary adjustments.
Take Breaks and Step Back
It’s important to take breaks and step back from your mural periodically. This will give you a fresh perspective and allow you to see any areas that may need adjustments. It’s easy to get caught up in the details, so taking breaks will help you maintain a balanced composition and ensure that your mural is visually appealing from a distance.
Test Colors and Techniques
Before applying a color or a particular technique to your mural, it’s a good idea to test it on a small section of the wall or on a spare piece of cardboard. This will allow you to see how the colors and techniques interact and ensure that you achieve the desired effect. Testing beforehand can save you time and prevent any potential mistakes.
Experiment with Shading and Shadows
To create dimension and realism in your mural, experiment with shading and shadows. Use darker hues or mix in black to create shadows and add depth to your elements. Consider the direction of the light source and how it would cast shadows on your mural. Adding subtle shades and shadows will make your mural more visually dynamic.
Be Patient and Enjoy the Process
Painting a mural can be a time-consuming process, but it’s important to be patient and enjoy the journey. Embrace any challenges that arise and view them as learning opportunities. Don’t rush through the process and allow yourself to make mistakes. Remember that painting a mural is a creative expression, and the journey can be just as rewarding as the final result.
Finishing Touches and Maintenance
Once you have completed your mural, there are a few finishing touches and maintenance steps to ensure its longevity and preserve its appearance.
Seal the Mural
To protect your mural from dust, dirt, and potential damage, it’s recommended to seal it with a clear topcoat. Choose a topcoat specifically designed for murals and apply it according to the manufacturer’s instructions. The topcoat will provide a protective layer and enhance the colors, ensuring that your mural remains vibrant for years to come.
Clean and Maintain the Mural
Regularly cleaning and maintaining your mural will help prolong its lifespan. Use a soft, dry cloth or a feather duster to gently remove any dust or debris that may accumulate over time. Avoid using harsh chemicals or abrasive materials, as they can damage the paint. Touch up any areas that may have faded or chipped to keep your mural looking fresh and vibrant.
Inspiration and Ideas
If you’re feeling inspired to create a mural but aren’t sure where to start, here are some tips and ideas to get your creative juices flowing.
Research Other Murals
Take the time to explore other murals in your community or online for inspiration. Analyze different styles, techniques, and themes to see what resonates with you. Pay attention to the use of colors, composition, and storytelling in different murals. This research will help inspire your own unique design and give you ideas on how to execute it.
Use References and Inspiration
Look to other forms of art, such as photography, illustrations, or even classical artworks, for inspiration. Use these references as a guide to help you develop your own style and interpretation. Don’t be afraid to incorporate elements from different sources to create a truly unique and personalized mural.
Incorporate Personal Elements
Consider incorporating personal elements or symbols into your mural to make it even more meaningful. This could be a favorite quote, a representation of your hobbies or interests, or even portraits of loved ones. Adding personal touches will make your mural truly special and a reflection of your own personality.
Now that you have gained a comprehensive understanding of the steps involved in creating a mural, the techniques to use, and some tips for success, it’s time to gather your supplies and let your creativity shine. Whether you’re painting a small mural in your home or tackling a larger project, remember to have fun, embrace the process, and enjoy the transformation of your wall into a work of art. Happy painting!
