
Key takeaways
- Age Range Description: Adult
- Mount Type: Doorway Mount
- Item Dimensions W x H: 37"W x 20.2"H
Most pull-up bars fail in the same three places: the mount, the grip, and the geometry. Doorway bars lever against trim that was nailed, not bolted. Wall mounts land in drywall instead of studs, and the anchors slowly chew a wider hole with every rep. Ceiling units get installed at a height that leaves your knees folded like a deck chair. None of that shows up in a product photo, which is why so many people buy twice — once for the cheap bar, once for the thing that actually holds them.
The alternative is to stop treating the pull-up bar as a standalone gadget and treat it as one function of a frame that stands on the floor. That is where CAP Barbell’s power rack line sits: a steel cage with an integrated crossbar overhead, plus a catalog of bolt-on attachments that let you add multi-grip handles, dip stations, and landmine posts as your training changes. Below is a breakdown of the configurations, the numbers that matter when you are measuring your garage or basement, and honest notes on where a rack makes sense versus where a $30 doorway bar is genuinely the smarter purchase.
Our top picks
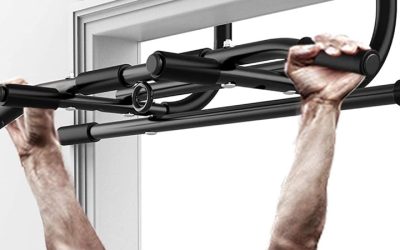
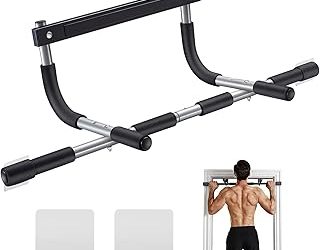
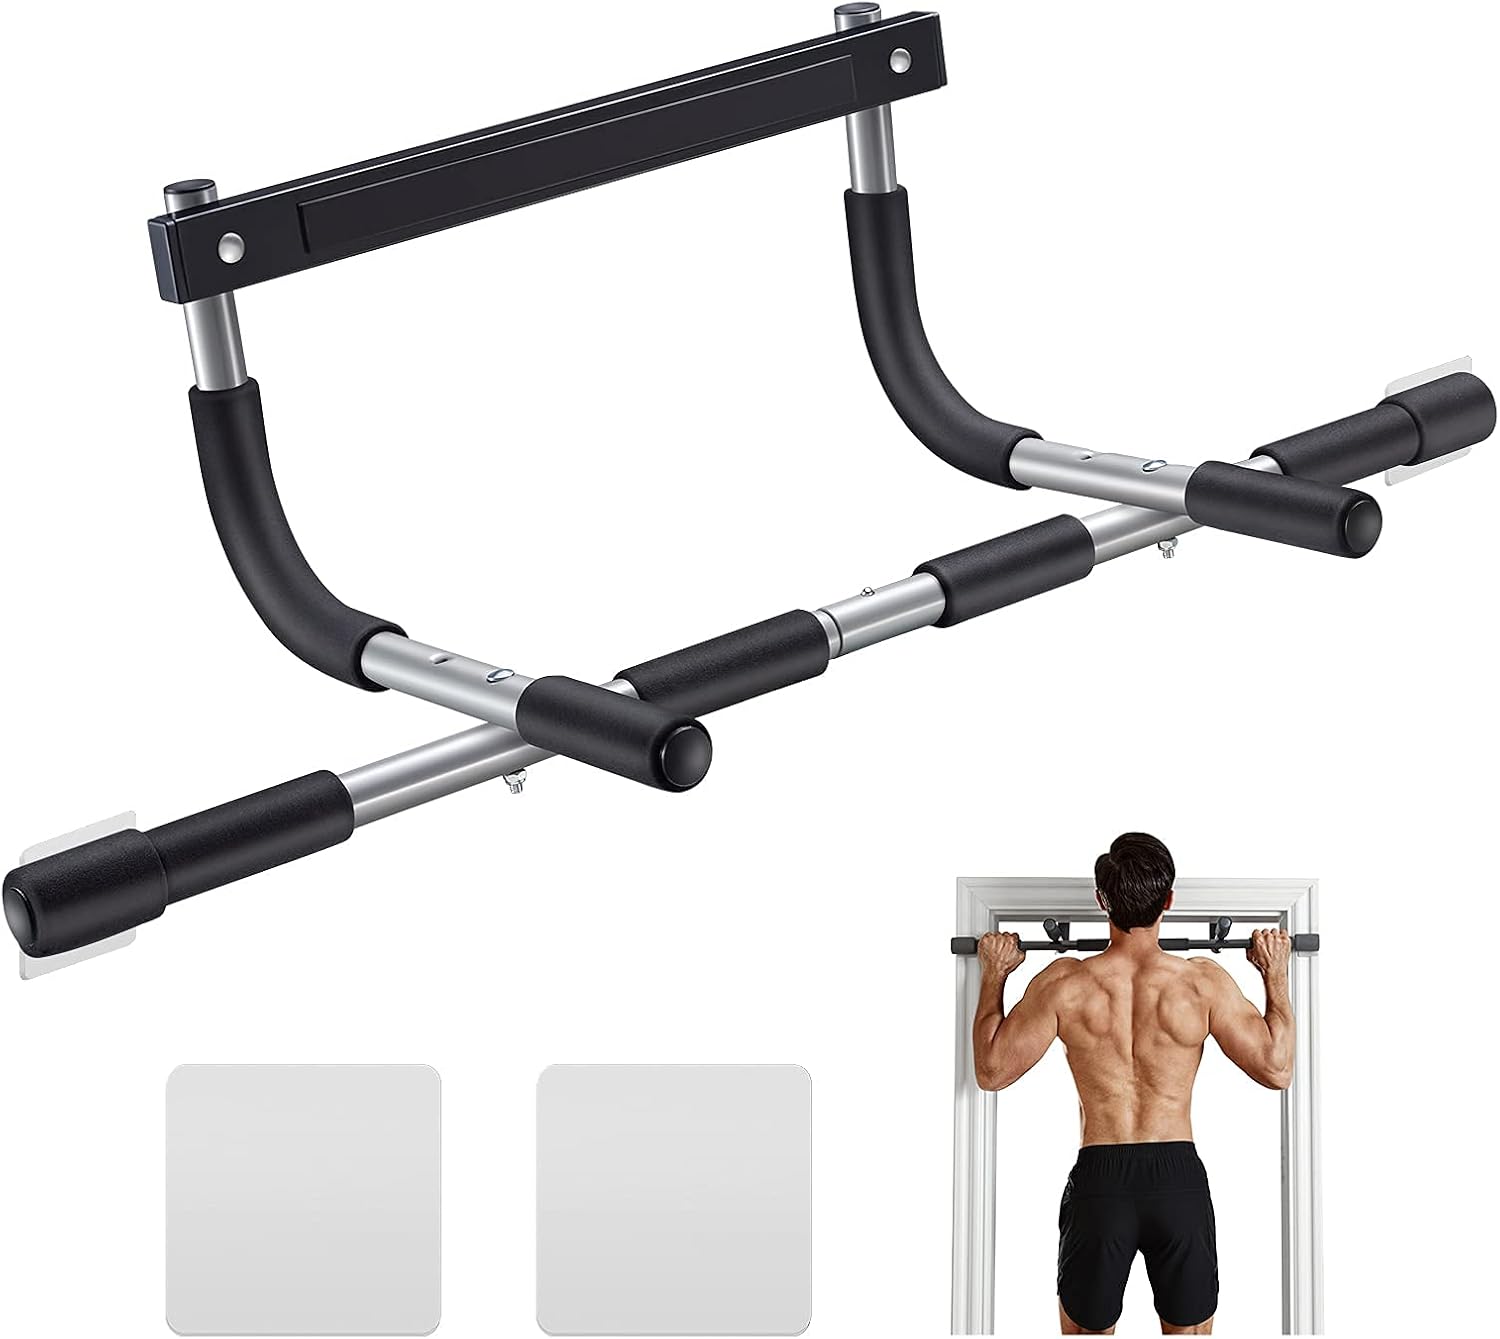 Ally Peaks Pull Up Bar for Doorway
- Age Range Description: Adult
- Mount Type: Doorway Mount
- Item Dimensions W x H: 37"W x 20.2"H
 Pooboo Power Tower Dip Station Pull Up
- Maximum Weight Recommendation: 450 Pounds
- Warranty Type: Manufacturer
- Material: Alloy Steel
 CAP Barbell Power Racks and Attachments
- Item Package Dimensions L x W x H: 47 x 12 x 6 inches
- Package Weight: 29.94 Kilograms
- Item Dimensions LxWxH: 45.67 x 50.79 x 85.43 inches
| Product | Key specs | |
|---|---|---|
| Ally Peaks Pull Up Bar for Doorway | Age Range Description: Adult Mount Type: Doorway Mount Item Dimensions W x H: 37"W x 20.2"H | Check price |
| Pooboo Power Tower Dip Station Pull Up | Maximum Weight Recommendation: 450 Pounds Warranty Type: Manufacturer Material: Alloy Steel | Check price |
| CAP Barbell Power Racks and Attachments | Item Package Dimensions L x W x H: 47 x 12 x 6 inches Package Weight: 29.94 Kilograms Item Dimensions LxWxH: 45.67 x 50.79 x 85.43 inches | Check price |
 Sunny Health & Fitness Power Tower Dip Sunny Health & Fitness Power Tower Dip | Maximum Weight Recommendation: 330 Pounds Warranty Type: Manufacturer Material: Alloy Steel | Check price |
 Mikolo Smith Machine with Weight Stack Mikolo Smith Machine with Weight Stack | Warranty Description: 2 Year Tension Supported: 264 lbs Strap Type: Cable/Pulley straps | Check price |
 pooboo Multi-Functional Machine Power Cage pooboo Multi-Functional Machine Power Cage | Warranty Description: 2 Year Warranty Time Material Type: Alloy Steel, Plastic Tension Supported: 2000 pounds | Check price |
 48'' Joist Mounted Pull Up Bar with 48'' Joist Mounted Pull Up Bar with | Age Range Description: Adult Mount Type: Wall Mount Material: Alloy Steel | Check price |
 Sportsroyals Power Tower Pull Up Bar Station Sportsroyals Power Tower Pull Up Bar Station | Warranty Description: 2-Year Warranty Maximum Weight Recommendation: 360 Pounds Warranty Type: No Warranty | Check price |
As an Amazon Associate we earn from qualifying purchases at no extra cost to you.
Quick Comparison
| Configuration | Mounting | Grip Positions | Best For | Watch For |
|---|---|---|---|---|
| CAP power rack, stock crossbar | Freestanding, floor-loaded | Wide pronated, plus narrow if the bar spans front-to-back | Barbell lifters who want pull-ups included | Needs roughly 7 ft of ceiling plus your reach |
| Rack with multi-grip pull-up attachment | Bolts to upright holes | Neutral, angled, wide, close | Elbow and shoulder comfort, grip variety | Lowers effective bar height by a few inches |
| Rack with dip/handle attachment | Pin or bolt into uprights | Parallel bars, not overhead | Push volume without a bench | Check attachment fits your upright gauge |
| Half rack or squat stand variants | Freestanding, shorter footprint | Depends on model; some omit a crossbar | Tight spaces, low ceilings | Confirm a pull-up bar is actually included |
How to Choose
- Measure the ceiling before anything else. Stand under the spot, reach up, and add four inches for a dead hang without brushing the drywall. Full-height cages typically want a ceiling near or above eight feet; if you have seven, look at shorter racks or a wall-mount solution instead.
- Read capacity as bodyweight plus load. A rating covers the whole system, not just you. If you plan weighted pull-ups with a dip belt or a vest, budget for the extra plates and leave a real margin rather than shaving the number.
- Check the grip diameter and finish. Around an inch to an inch and a quarter suits most hands. Powder coat gives predictable friction; slick chrome will demand chalk or straps once your palms get damp.
- Verify attachment compatibility, hole spacing, and upright size. Attachments are cut for a specific tube dimension and hole pattern. A multi-grip handle built for two-by-two uprights will not seat properly on a heavier gauge frame, so match the part number to your exact model.
- Count the floor space you will actually give up. A cage occupies its footprint permanently and needs walk-in clearance on at least one side. Measure the swing of the door, the car, and the shelving before you commit the corner.
Top Picks Reviewed
CAP Barbell Power Racks and Attachments
The appeal here is structural. Because the crossbar is welded or bolted into a frame that transfers load straight into the floor, nothing is hanging off your house. There are no anchors to loosen, no trim to crack, and no gradual sag that turns a solid bar into a wobbling one. That also means the bar sits at a fixed, generous height, so tall lifters get a full dead hang instead of tucking their legs to clear the ground — the single most common complaint about doorway units.
Assembly is the honest tradeoff. Expect a heavy box, a bag of hardware, and an hour or two with a wrench, ideally with a second person to hold uprights while you thread bolts. Snug everything by hand first, square the frame, then torque in sequence; skipping that order is what produces the rattling reviews. Once tightened, the frame is stable for most bodyweight work, though kipping or aggressive swinging on any lighter freestanding rack will move it. Loading the base with plates or bolting through the feet settles it considerably.
The attachment ecosystem is what justifies the footprint over a single-purpose bar. A multi-grip handle adds neutral and angled grips, which is often the difference between pain-free volume and cranky elbows. Dip handles and landmine posts extend the same frame into pressing and rotational work, and the J-hooks and safeties turn it into a squat and bench station. Just confirm compatibility against your specific model number, since CAP sells several frames with different upright dimensions and the parts are not universal across the line.
Frequently Asked Questions
Do I need to bolt a power rack to the floor?
Not for standard pull-ups, presses, or squats performed under control. Bolting or plate-loading the base becomes worthwhile if you do explosive kipping pull-ups, bail on heavy squats, or have a slick concrete floor where the feet can creep. Renters can achieve much of the same effect with rubber mats and weight on the base.
How much ceiling height do I really need?
Take your standing reach, add roughly six inches for the bar and hardware, then add clearance so your head is not grazing anything at the top of the rep. For most adults that lands in the eight-foot range for a full cage. If you are working with seven-foot basement ceilings, a shorter rack or a wall-mounted bar between joists is the more realistic path.
Can beginners use a rack if they cannot do a pull-up yet?
A rack is arguably better for beginners than a doorway bar, because the frame gives you places to loop a band for assistance and a horizontal bar low in the cage for inverted rows. Set a barbell in the J-hooks at chest height, lie underneath, and row — it builds the exact pulling pattern with a fraction of the load.
Is a power rack overkill if I only want pull-ups?
Yes, if pull-ups are the whole plan and always will be. A properly installed wall or ceiling mount into structural lumber costs far less and takes no floor space. The rack earns its place when you also want to squat, press, dip, or add attachments without buying separate equipment for each movement.
Final Thoughts
Pick based on what your building can support and what your training will look like a year from now. If you rent, have low ceilings, or genuinely only want a bar to hang from, a solid mounted option is the efficient answer and there is no shame in it. But if you have the floor space and any intention of touching a barbell, the CAP power rack platform gives you a fixed-height, no-anchors pull-up bar as a byproduct of a station that keeps growing with you. Measure twice, match your attachments to your exact frame, and torque the hardware properly — do those three things and the setup will outlast several generations of cheaper bars.



Write Your Review
No reviews yet. Be the first to share your experience!