Key takeaways
- Distinguish hinge cup diameter, depth and edge distance with a labeled reading worksheet and fictional geometry example before asking a supplier to confirm.
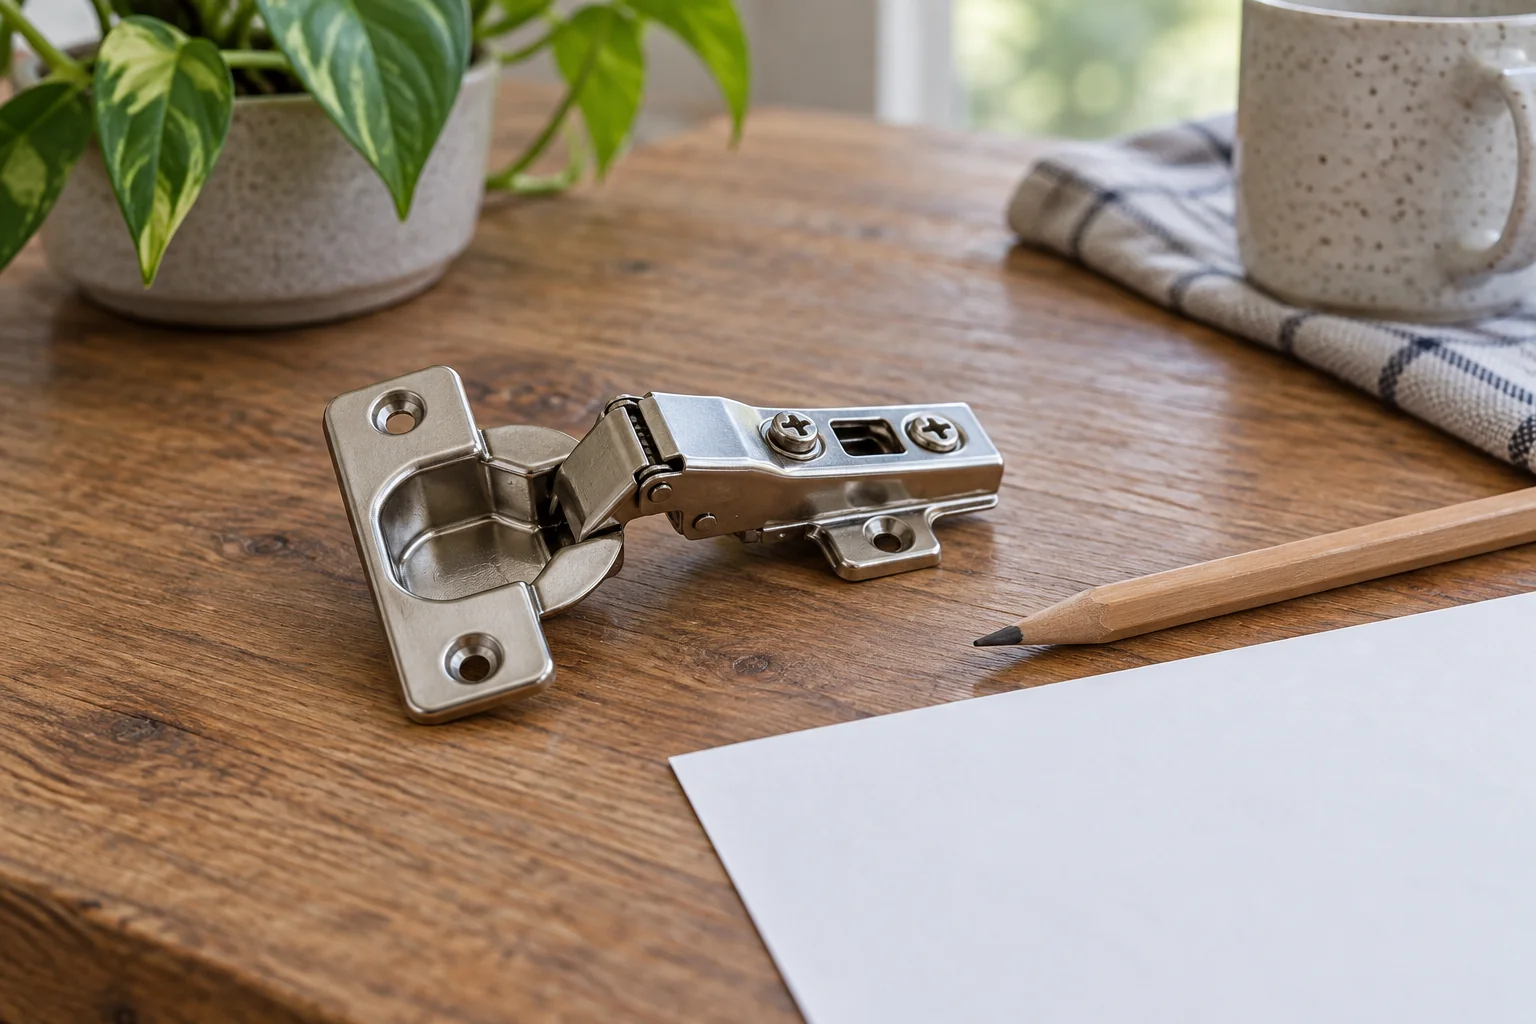
Read concealed-hinge cup dimensions by separating the diameter of the cup hole, its depth and its distance from the door edge. Those numbers describe different parts of the geometry. A familiar cup diameter does not establish that another hinge fits, and a drawing’s edge distance is not automatically the distance to the hole’s center.
This guide helps interpret a manufacturer’s drawing and prepare specific questions. It supplies no drilling settings, machining tolerances or approval to alter an existing door. Use the exact hinge, mounting plate and door specifications before any cutting or installation work.
Identify the drawing and hinge version first
Record the hinge part number, attachment version and application shown. Screw-on, press-in and other cup attachments can have different fixing details even when the main circular cup looks similar. Overlay, inset and other applications also change how a hinge relates to the cabinet.
Keep the page number and publication revision beside the part number. A general terminology page explains labels; the exact product’s planning page supplies its applicable values. Do not copy dimensions from the nearest illustration simply because it is easier to read.
Blum’s catalogue dimension key distinguishes DT for hinge-boss drilling diameter, BT for drilling depth and TB for drilling distance. It also shows other labels for gaps, overlay and hinge dimensions. These are definitions within that publication, not universal symbols guaranteed to mean the same thing in every manufacturer’s drawing.
Find which view answers each question
A face view usually helps locate the circular hole and fixing pattern. A section or side view is more useful for depth and the remaining door material behind the cup. Read the dimension arrows and their endpoints rather than collecting every number visible around the hinge.
Identify the door face and edge in each view. A mirrored drawing can reverse what appears left or right without changing the physical relationship. Name the edge and face in your notes so another person can reconstruct the intended reference.
Do not measure a website screenshot to recover a missing dimension. Enlarged details, screen scaling and perspective can all change apparent distances. Follow written dimensions and ask for the original drawing when a number or arrow is unreadable.
Keep edge distance separate from center distance
When the drawing defines a clear distance between the door edge and the nearest edge of the circular cup hole, that is different from the distance to the circle’s center. For that specific geometry, the center lies one radius farther in. Confirm that the drawing actually uses those endpoints before doing the arithmetic.
As a fictional reading exercise, suppose a drawing gives a 30-millimeter circle and a 4-millimeter gap from the door edge to the circle’s nearest edge. Its radius is 15 millimeters, so the corresponding edge-to-center distance would be 19 millimeters. The two labels cannot be exchanged just because they describe the same circle.
These invented dimensions are not a hinge specification or a drilling recommendation. They only illustrate why a note saying “distance from edge” needs named endpoints. If your drawing instead dimensions a centerline directly, preserve that value and label rather than converting it unnecessarily.
Build a dimension reading sheet
| Field | What to copy | What to verify |
|---|---|---|
| Cup hole | Diameter label, value and unit | Main circular feature, not fixing hole |
| Depth | Specified depth and any stated limit | Reference face and exact hinge version |
| Edge relationship | Named endpoints for distance | Hole edge or centerline? |
| Fixing pattern | Separate holes and spacing | Screw-on or other attachment variant |
| Door and plate | Applicable thickness and plate references | Correct application and combination |
| Unresolved item | Unreadable or missing information | Written supplier clarification before work |
Keep calculated geometry in a separate column from copied specifications. That makes it possible to check your arithmetic without confusing it with a manufacturer’s stated requirement. Preserve units and any minimum, maximum or range notation exactly.
Do not treat one matching dimension as compatibility
Two hinges can share a cup diameter while differing in cup depth, fixing pattern, opening behavior or their mounting-plate relationship. A match in one field therefore answers only that field. Compare the complete supported combination instead of declaring a replacement suitable from the circular opening alone.
Door thickness also needs its own check against the exact instructions. Subtracting a nominal depth from a nominal thickness is only arithmetic; it does not establish an acceptable remaining thickness, material strength or machining allowance. Those requirements belong to the design and product documentation.
For an existing door, distinguish an observed hole from a documented original specification. Damage, previous alterations or an unknown hinge version can make the old opening an unreliable template. Describe those unknowns to the supplier instead of silently carrying them into a new plan.
Ask a question that can be answered precisely
Send the hinge and plate identifiers with the relevant drawing crop, retaining the arrows and page reference. Ask, for example, whether the labeled distance runs to the cup-hole edge or its center, and which depth applies to the selected attachment version.
Save the response with the exact drawing. Once the dimension meanings are clear, a separate installation decision still remains. A readable worksheet prevents a terminology misunderstanding from becoming an irreversible hole in the door.