Key takeaways
- Build a torque wrench history that links tool identity, service events, original certificates, tested scope and unresolved follow-up questions.
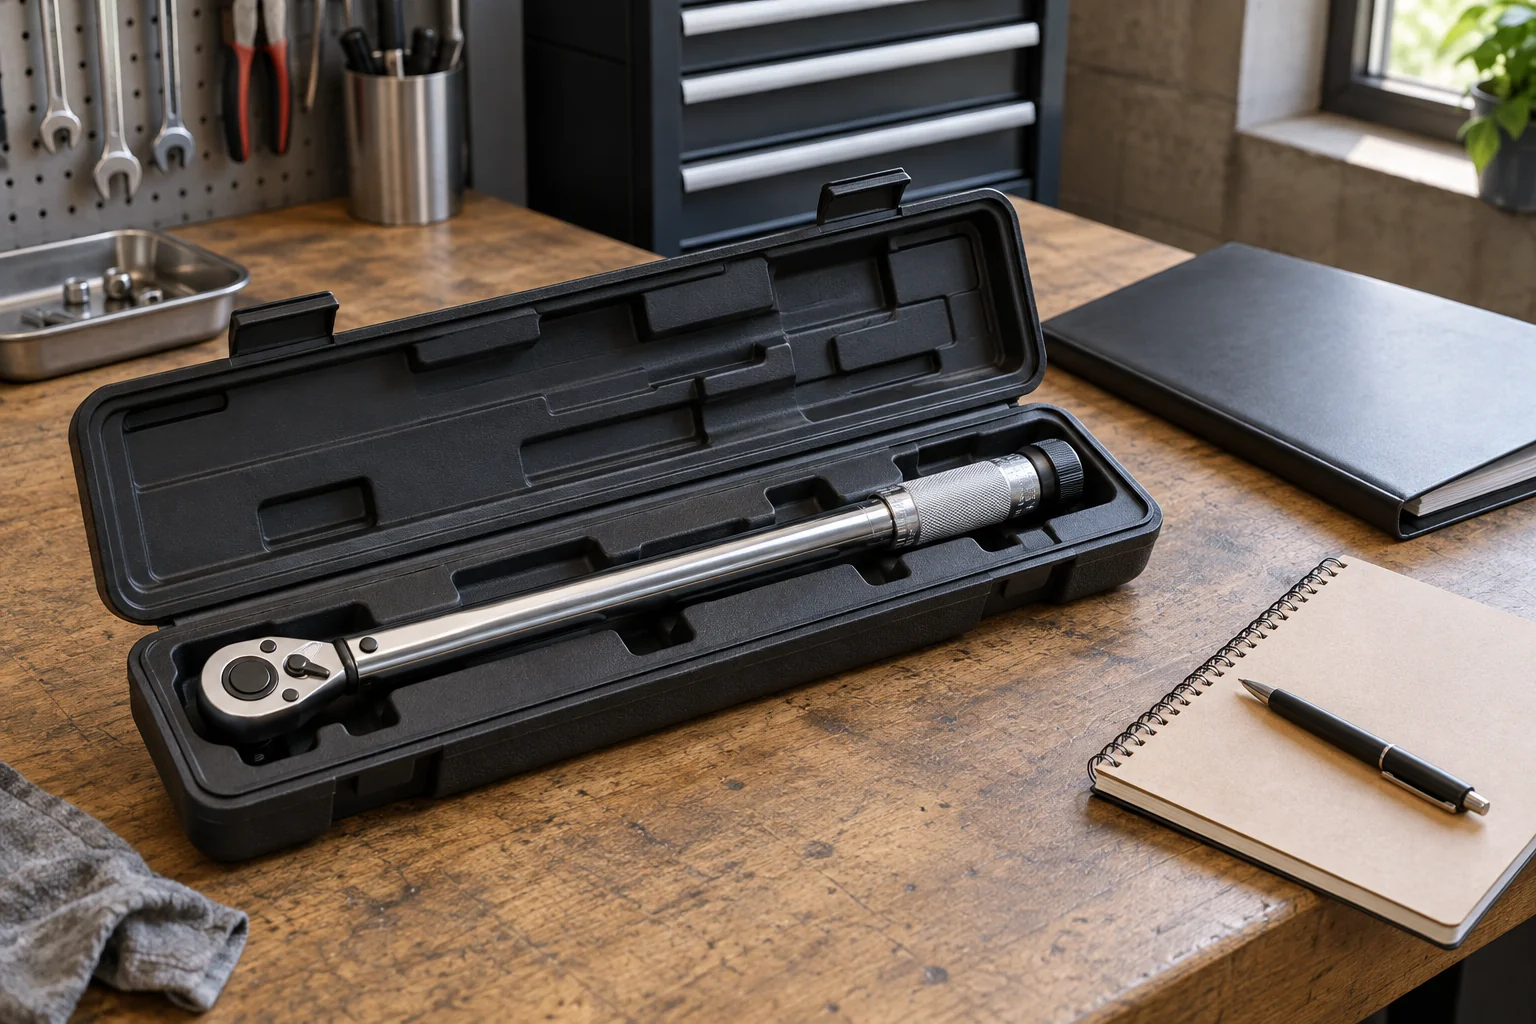
Document a torque wrench’s calibration history by linking the physical tool to each service event and its original certificate. Keep the result, tested direction, units and any adjustment together. A date sticker is useful for finding the record, but it cannot explain what was measured or what happened between two visits.
This guide is a filing and review workflow, not a method for calibrating, adjusting or assigning a correction factor to a wrench. Use the tool manufacturer’s instructions and the calibration provider for those decisions. A tidy history also does not establish that a tool is suitable for a particular fastening job.
Give the wrench a permanent record identity
Start with the brand, model, readable serial number, marked range and units. Photograph the identification markings without covering or altering them. Add your own inventory ID in the record so you can distinguish two similar wrenches whose cases look alike. Keep the manufacturer’s serial number as a separate field rather than replacing it with the nickname.
Match every incoming document to the tool before entering results. If a certificate identifies a different serial number, ask the provider to resolve it. A receipt for a calibration service is not a substitute for a certificate associated with the correct tool. Record a missing document as missing instead of treating a payment date as the calibration date.
Keep the service event separate from its outcome
Norbar’s calibration-service description distinguishes readings taken on receipt, commonly called “as found,” from results after an adjustment, called “as left.” Its torque-wrench section describes nominal and measured torque readings on the certificate. These are reasons to preserve the original result and service history rather than reduce everything to one “passed” entry. Ask your chosen provider what its service includes; the example is not a promise about every laboratory.
Make one row per service event, with links to all related files. Do not overwrite the previous row when a new certificate arrives. If the provider issues a corrected document, retain the superseded version clearly marked and identify which version now applies. This avoids two apparently current certificates floating around in different folders.
| Field | What to enter | What not to assume |
|---|---|---|
| Tool identity | Inventory ID, model and serial number | Matching case color means matching tool |
| Service identity | Provider, job reference and certificate number | An invoice contains the measurement result |
| Dates | Sent, received, calibration and return dates separately | All four happened on the same day |
| Scope | Units, direction and range or points as documented | One direction or point covers every use |
| Findings | Provider’s recorded outcome and qualifications | A summary word replaces the complete certificate |
| Work done | Adjustment, repair or replacement as stated | A later acceptable result erases the earlier finding |
| Follow-up | Open questions and the person responsible | A blank field means nothing remains to check |
Preserve units and direction when comparing records
Copy units exactly before trying to compare two entries. A value written in inch-pounds is not directly interchangeable with the same numeral written in foot-pounds. Likewise, keep clockwise and counterclockwise results labeled. If a later service covers a different scope, explain the difference in the history rather than calling the two certificates equivalent.
Do not create a trend chart from mismatched test points or calculate a new working setting from an old error entry. If the result is unclear, send the complete certificate to the provider with a specific question. Your log should make that conversation easier, not become an unofficial replacement for the laboratory’s interpretation.
Worked example: one event has two important results
Consider an invented record for tool TW-04. It is sent to a provider on May 3, measured on May 8 and returned on May 12. The report records an out-of-specification as-found result, an adjustment and an acceptable as-left result within the stated scope. The history keeps all three facts and links to the same certificate.
Writing only “passed May 12” would lose the measurement date and the fact that adjustment was needed. Writing “failed” would hide the documented work afterward. The useful entry is a short, faithful sequence, with any unresolved question left visible. If previous work may be affected, refer the original findings to the person responsible for that work; the record alone cannot determine the impact.
Make the next review traceable
Keep the next review date and its basis in separate columns. The basis might be a documented manufacturer instruction, an applicable work procedure or advice from the provider. Do not insert an annual interval simply because the spreadsheet has a date column. Record relevant incidents or service concerns when they occur and seek guidance without waiting for a calendar reminder.
Finish each return by checking tool identity, document completeness and unresolved questions. Keep readable copies backed up, with the original files intact. A useful calibration history lets you retrieve the right evidence quickly and explain what changed; it does not turn an undocumented tool into a verified one.