Key takeaways
- Keep nominal labels and measured lumber dimensions separate with a shopping worksheet and practical examples of fit mismatches.
What's inside
At the lumber store, record both the size printed on the rack and the dimensions of the actual boards you intend to buy. Keep thickness, width and length in separate fields, then connect each board to the part it must produce. A label helps identify stock; it does not replace measuring material for a close-fitting project.
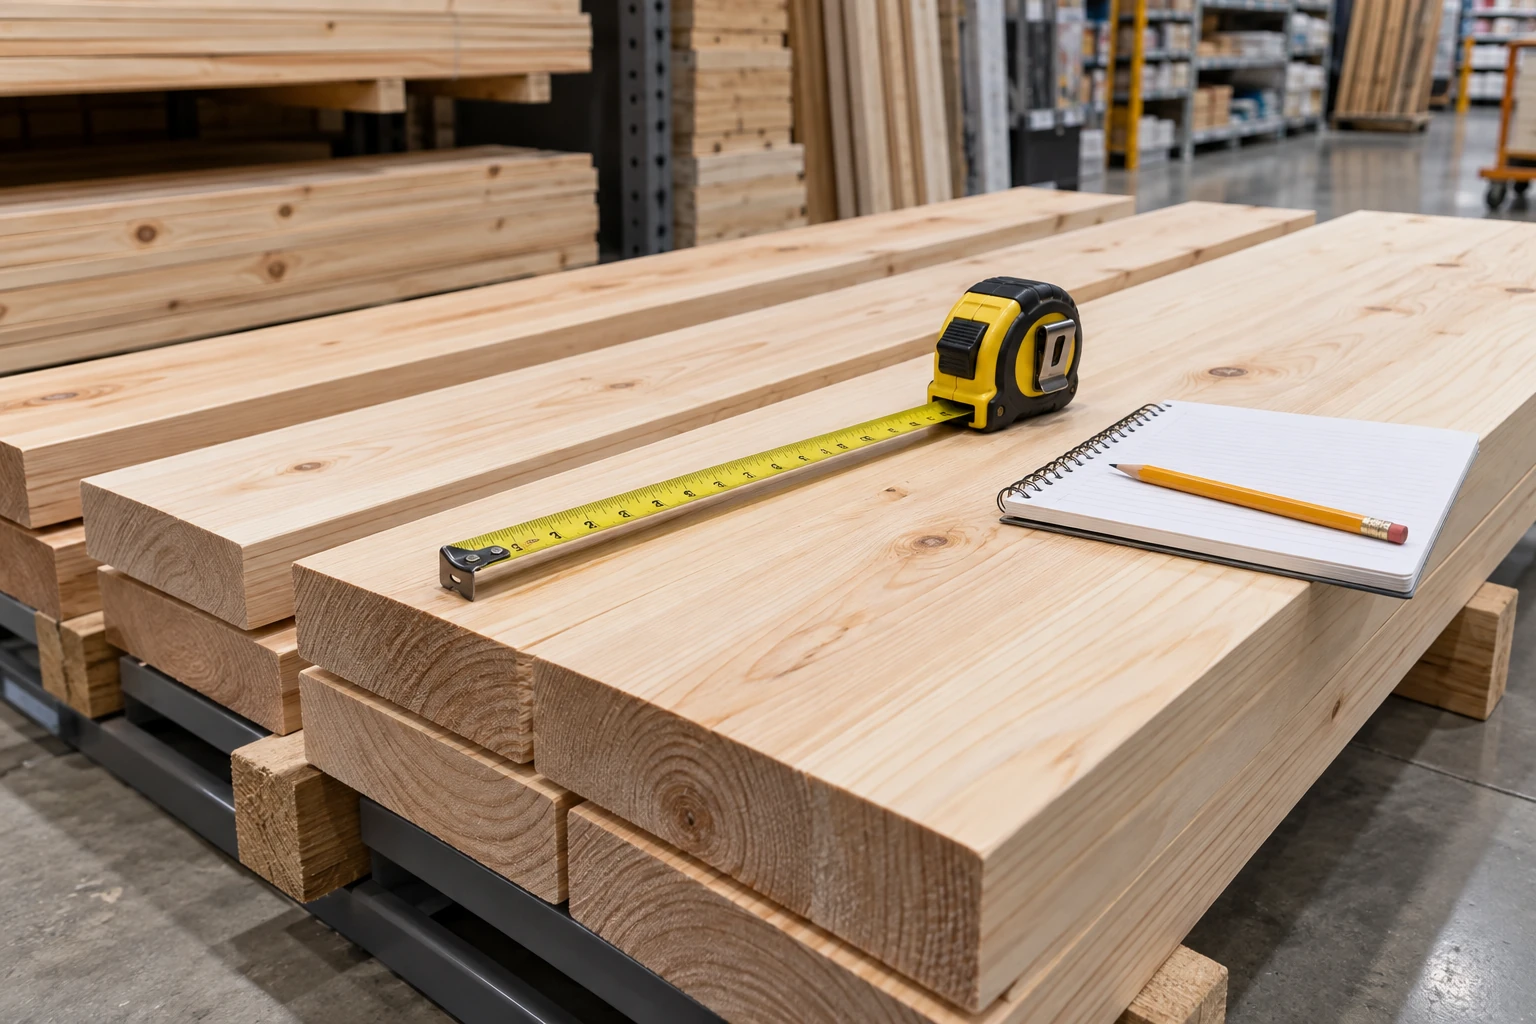
Bring the project requirement, not just a shopping name
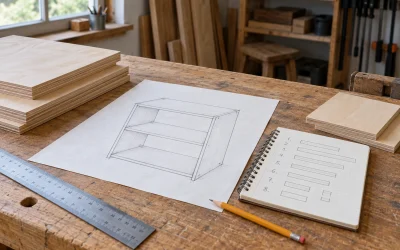
Before leaving home, list the finished dimensions your project needs. Write whether a dimension is critical, adjustable or still undecided. A shelf that must fit an existing recess has a different requirement from a decorative board whose width can change. Keep any drawing revision with the list so you do not shop from an old measurement.
Bring a tape or ruler suitable for the sizes involved. If thickness needs a closer check than your tape can resolve, use an appropriate measuring tool or ask store staff for help. Do not write extra decimal places that your measurement does not support. A clear approximate reading is more honest than false precision.
Understand what nominal size does—and does not—tell you
The American Softwood Lumber Standard PS 20-25, published through NIST, explicitly distinguishes nominal names from dressed sizes. Its size tables apply to defined lumber categories, and its measurement section notes that lumber dimensions can change with moisture conditions. It also calls for actual thickness and width information on invoices for dressed lumber.
Use that distinction to organize your notes, not to assume every product in the store follows one universal conversion chart. Rough lumber, surfaced hardwood, softwood dimensional stock, panel products and decorative profiles need their own product information. Ask what the listing means when it is unclear, especially if the seller quotes a rough size or a thickness category rather than a finished measurement.
Copy the label, then measure the selected piece
| Field | Record | Reason |
|---|---|---|
| Product identity | Store SKU, species/product name and grade if shown | Find the same item again |
| Rack size | Exact advertised dimensions and units | Preserve what the seller describes |
| Measured stock | Thickness × width × length | Check the chosen piece against the project |
| Condition/location | Date and where measurements were taken | Distinguish later rechecks |
| Intended parts | Part IDs, quantities and finished sizes | Avoid buying stock with no usable assignment |
| Open questions | Surfacing, usable length, seller clarification | Keep uncertainty visible before purchase |
Measure across flat faces rather than rounded corners or a damaged end. Check more than one accessible location when fit matters. Record a range if the readings differ; do not average away a thin spot that affects your part. Keep long boards supported and ask staff to handle stock you cannot access safely.
Worked example: a nominal label that changes the plan
In this illustrative example, a shopper’s sketch calls for a finished shelf 7½ inches deep. The selected board is labeled nominal 1 × 8, but the shopper measures its usable width as 7¼ inches. The shortfall is ¼ inch. No amount of trimming can make that particular board wider, so the decision belongs at the store rather than after it has been cut.
The shopper records three choices: revise the shelf depth if the design permits, find wider suitable stock, or redesign the part using an appropriate joining method. They do not assume the nominal “8” satisfies the sketch. The measurement is an example reading, not a statement that every board carrying that label will measure identically.
Thickness matters too. Suppose two sides each measure ¾ inch and a part fits between them inside a fixed 20-inch outside width. The available between-side dimension is 20 − ¾ − ¾ = 18½ inches. If the project used the nominal thickness in that subtraction, its parts would describe a different assembly.
Separate measured length from usable layout
A board may be long enough overall but still unsuitable for your planned parts because of a split, damaged end, unwanted feature or grain direction. Mark such observations and ask for advice when you cannot judge their significance. Recording a defect does not establish whether stock is structurally acceptable for a particular use.
Sketch how your parts could fit along the board, leaving the cutting and trimming allowances required by your actual method. Do not buy an exact sum of finished lengths and assume there will be no material lost between cuts. Conversely, avoid adding an arbitrary waste percentage in place of checking whether the longest part fits at all.
Keep the receipt connected to the measurements
Photograph the product label if store rules allow, and retain the receipt with your worksheet. If several boards share a SKU but differ in measured condition, identify them individually with removable labels or another appropriate method. This preserves which piece you assigned to which part without writing permanent marks on visible faces.
Recheck the material before final layout and cutting, particularly after storage or surfacing. Update the project calculation when a dimension changes. The store worksheet is a purchasing record, not a guarantee that wood will stay at that exact size or that it meets an engineered load requirement.
A useful shopping record lets you answer what was advertised, what you measured, which part it was intended for and what still needed confirmation. That is enough detail to catch a sizing mismatch before it becomes a pile of unusable parts.
Once your stock measurements are recorded, use the cabinet cut-list exercise to see how actual thickness changes between-panel dimensions.