Key takeaways
- Compare wood finishes on matched scraps with a clear sample log, consistent preparation and room-light observations before committing to a project.
What's inside
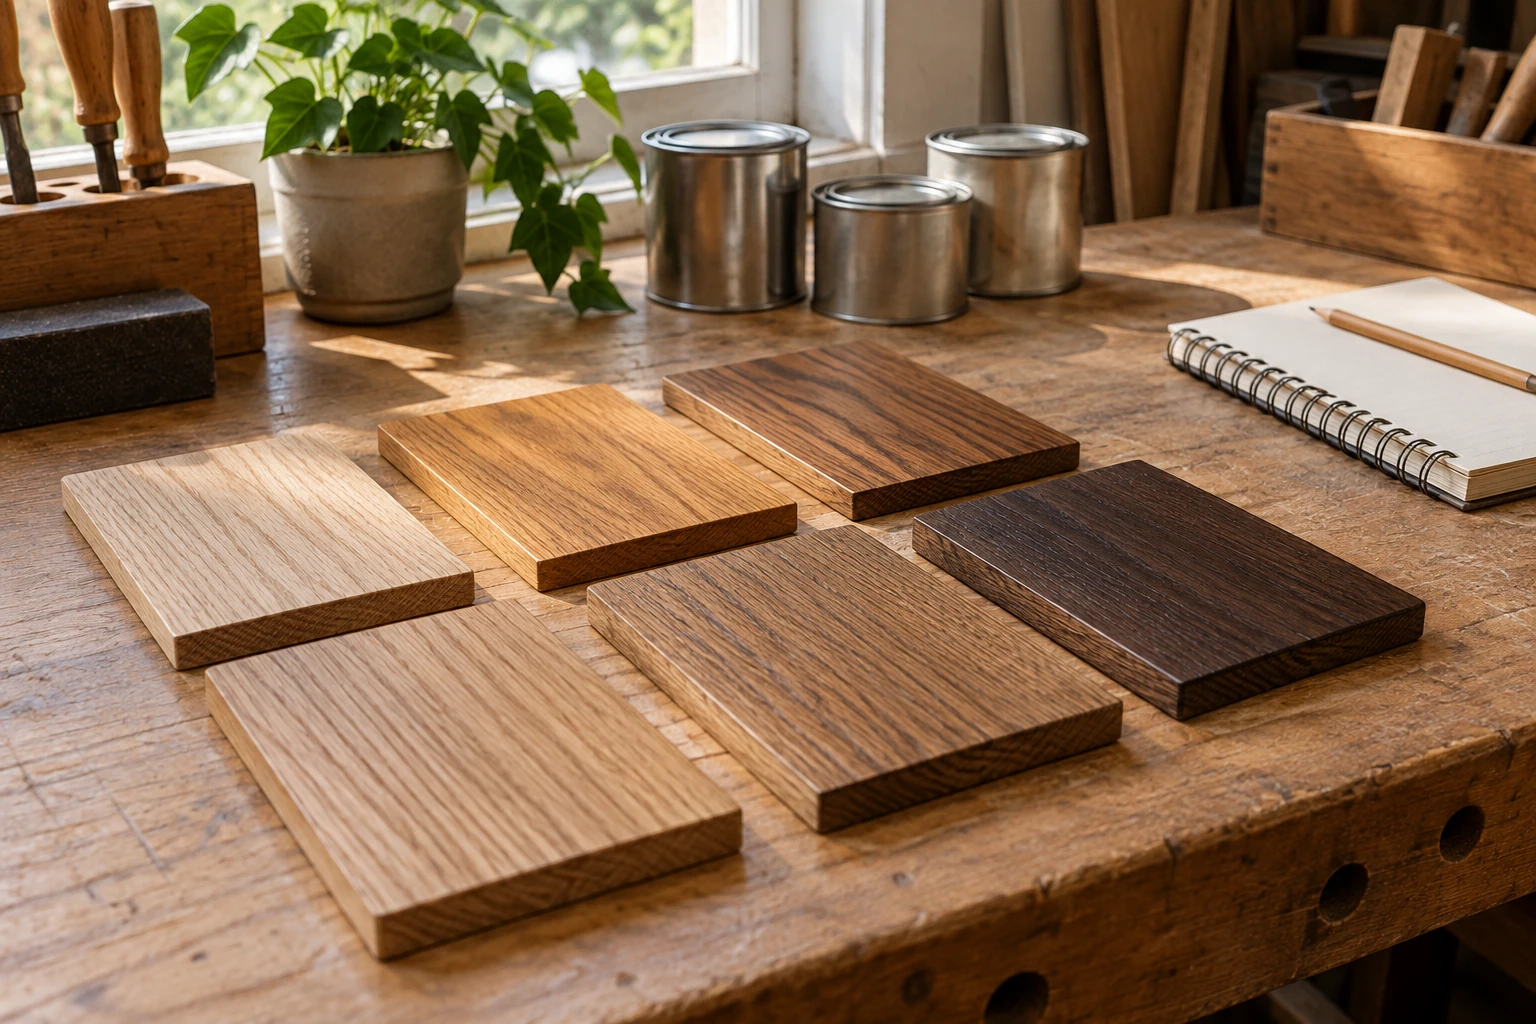
A useful finish sample records a complete process, not just a color name. Start with material that represents the actual project, follow each product’s current instructions, and label the preparation and coating sequence. Compare the completed samples in the room where the furniture will be used before choosing a finish.
Decide what the comparison should answer
Write one question at the top of your sheet: lighter versus darker color, a visible grain effect, or a choice between specified sheens. Changing every variable at once makes it hard to explain why one sample looks different. A first comparison can narrow the color, followed by a second comparison of compatible finishing schedules.
Do not treat a decorative sample as a durability certification. A board can help you judge appearance and practice application. It does not prove food-contact suitability, scratch resistance or long-term performance. Use the manufacturer’s documents for claims and intended uses, and do not invent a household stress test that the product instructions do not support.
Choose material that represents the project
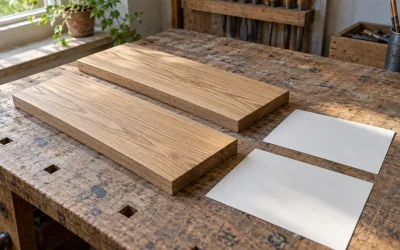
Use offcuts from the actual stock where possible. Record the species or panel product and whether the surface is bare, previously coated or veneered. A stain on a random pine scrap is a poor preview for an oak tabletop. If the project contains more than one material, make separate samples for each material rather than assuming they will match.
Minwax’s product guide explains that wood color and pore structure can vary and recommends checking stain on an inconspicuous area before starting. Use that principle to avoid treating a printed swatch as a promise. For the exact product you buy, obtain its current label and instructions; a general guide is not a substitute for them.
Build a record before opening a container
| Field | What to record | Why it matters |
|---|---|---|
| Sample ID | Unique label on an appropriate uncoated area | Connect the board to the notes |
| Substrate | Stock source, material and existing finish | Avoid comparisons across unlike surfaces |
| Preparation | Steps and abrasives required by the selected instructions | Make the result repeatable |
| Products | Exact names, color, sheen and batch details if available | Distinguish similarly named formulas |
| Application | Date, sequence and actual conditions | Explain differences and plan the main job |
| Observation | Viewing light, date and preference | Separate appearance from performance claims |
Keep a copy of the instructions with this record. Follow their requirements for ventilation, protective equipment, preparation, application, drying and waste handling. In particular, follow the product’s directions for used applicators and rags rather than leaving them in a heap. Different formulas can require different handling.
Control the variables you can control
Prepare comparable pieces consistently unless the preparation itself is what you are investigating. Leave enough sample area to see a grain pattern; a tiny dab may show color without showing how the surface looks from normal viewing distance. Keep an untreated reference offcut beside the samples so you can see how far each result departs from the original material.
For products intended to work as a system, include the specified compatible topcoat in the final comparison. Record the complete sequence rather than naming only the stain. Do not mix formulas, add an improvised coat or assume that two products are compatible because they come from the same brand.
Wait until the stage specified for evaluation or use in the actual instructions. Touch-dry, ready to recoat and ready for normal service are different checkpoints. Write the relevant times from the product documents on your schedule instead of applying one generic waiting period to every sample.
Read a worked example correctly
In this hypothetical planning example, a homeowner makes samples A and B from adjacent offcuts of the same project stock. Both receive the same specified preparation. A uses one candidate color and B uses another, each with its required compatible finish schedule. The homeowner prefers A in the workshop but B beside the room’s flooring under the usual evening lamps.
The useful conclusion is that B better suits that room under those viewing conditions. It is not that B is universally more accurate, stronger or better for every home. If the homeowner then changes the topcoat sheen, the old comparison no longer represents the final choice; a revised sample should be recorded.
Keep the approved sample with the job
Photograph samples together under the same light for your notes, but make the final visual choice from the physical boards. Camera processing and screens can change apparent color. Record who approved the choice, the date and any remaining uncertainty about the actual furniture surface.
Retain the chosen board and process sheet until the project is complete. If a later result looks different, compare material, preparation, product identity and application notes before adding another coat. A clear sample record turns “I liked the brown one” into a decision you can reproduce and discuss with the product manufacturer.