Key takeaways
- Compare clamp opening, inward reach and complete body clearance using a two-direction worksheet before assuming a longer clamp will fit.
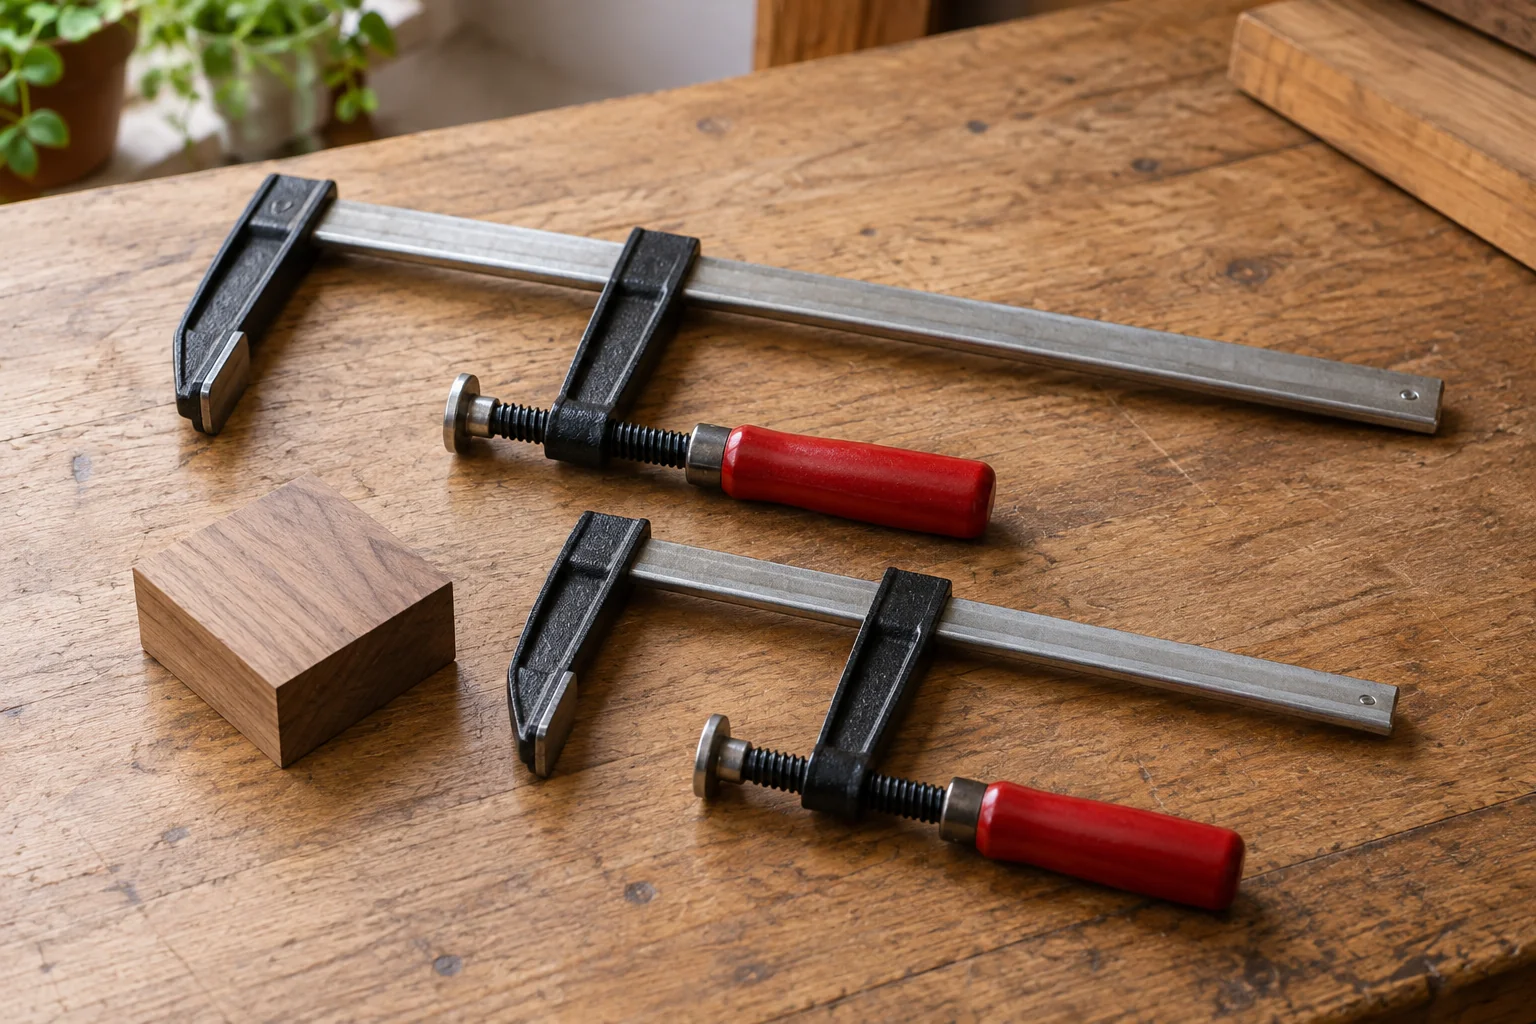
A clamp’s opening capacity and throat depth describe different directions. Opening capacity concerns the space between the jaws; throat depth concerns how far the clamping contact can reach inward from the bar or frame. Compare both against the intended setup before assuming a longer clamp will reach a deeper location.
Our top picks


As an Amazon Associate we earn from qualifying purchases at no extra cost to you.
Read the exact product drawing
Find the clamp’s model and the manufacturer’s dimension labels. Treat nominal length, overall length, maximum opening and throat depth as separate entries until the drawing shows what each represents. Product families can use similar photographs for several sizes, so confirm the selected model rather than measuring the image on your screen.
The BESSEY woodworking and cast-jaw clamp catalog lists clamping capacity, throat depth and clamping force in separate columns. That separation is useful: a dimension tells you where the jaws can fit, while a force specification answers a different question. Neither alone approves a clamp for every assembly.
Mark the contact location on the project sketch
Draw the intended faces that the pads will contact. Record the distance between those faces and the distance from the accessible edge to the desired contact point. Include the materials or protective pieces that the approved setup requires. If those pieces add thickness between the jaws, the opening requirement changes.
Then draw the bar or frame outside the work. Nearby rails, lips, curved edges or protruding hardware can stop it reaching the planned position. Do not treat an abstract rectangular gap as proof that the whole clamp body can occupy the available space.
| Question | Project measurement | Clamp information |
|---|---|---|
| Can the jaws span the setup? | Total distance between contact faces | Opening capacity for this configuration |
| Can the pads reach the location? | Required inward reach from accessible edge | Throat depth and pad geometry |
| Can the body fit? | Obstructions around the edge | Bar, jaw and handle dimensions |
| Can it be operated? | Room for normal handle movement | Manufacturer operating instructions |
| Is the setup appropriate? | Materials, joint and support needs | Permitted applications and limits |
Keep the last row separate from the size check. Geometric fit is not a calculation of required clamping force, a guarantee against surface marks, or permission to use a clamp as a lifting device.
Use a two-direction example
Suppose a hypothetical setup is 5 inches thick between its intended contact faces, and the desired contact point is 4 inches inward from the accessible edge. A hypothetical clamp opens 12 inches but has a 3-inch throat. The opening is large enough for the stated thickness, yet the throat does not reach the stated contact location.
Choosing another clamp with an 18-inch opening and the same 3-inch throat does not solve that reach problem. Conversely, a deep-throat clamp that cannot open around the total thickness fails the other requirement. These invented numbers illustrate the two measurements; they are not product specifications or an approved joint design.
If a proposed protective pad changes the geometry, revise the sketch rather than continuing with the original numbers. Ask the manufacturer when an attachment’s dimensions or effect on the permitted configuration are unclear. Do not stack improvised extensions to manufacture missing reach.
Check the complete movement before applying force
For an appropriate nonstructural project, make an unpowered, unloaded layout check following the clamp’s instructions. Confirm that the jaws can be positioned and that the handle can be operated without striking the work or nearby equipment. A clamp that fits only after the handle is trapped is not a practical match.
Keep the work supported independently as required by the project. Do not balance an assembly on a clamp while deciding whether it reaches. Inspect the clamp for obvious damage or missing components and follow the maker’s direction if anything is questionable.
Do not confuse a vise with a portable clamp
A bench vise has its own jaw opening, mounting arrangement and work support requirements. Our woodworking vise selection guide concerns that equipment category. It does not establish that a vise dimension or rating transfers to a handheld bar clamp.
Likewise, different clamp mechanisms may describe their usable range differently. Read the exact drawing and permitted application rather than assuming every product follows the same pad position or reach reference.
Finish with a fit decision and a question list
Write down the model, required opening, required reach and any unresolved obstruction. A useful conclusion might be “opening fits, reach insufficient,” which tells you precisely what a replacement must address. “Too small” gives the next shopper much less information.
Keep the sketch with the project record. When the assembly changes, repeat both measurements and the operating-space check. A longer advertised size may solve an opening problem, but only a verified reach and complete setup check can answer the throat-depth question.