Key takeaways
- Verify a printed plan against its intended scale, reference lengths and page joins before using the paper as a woodworking template.
What's inside
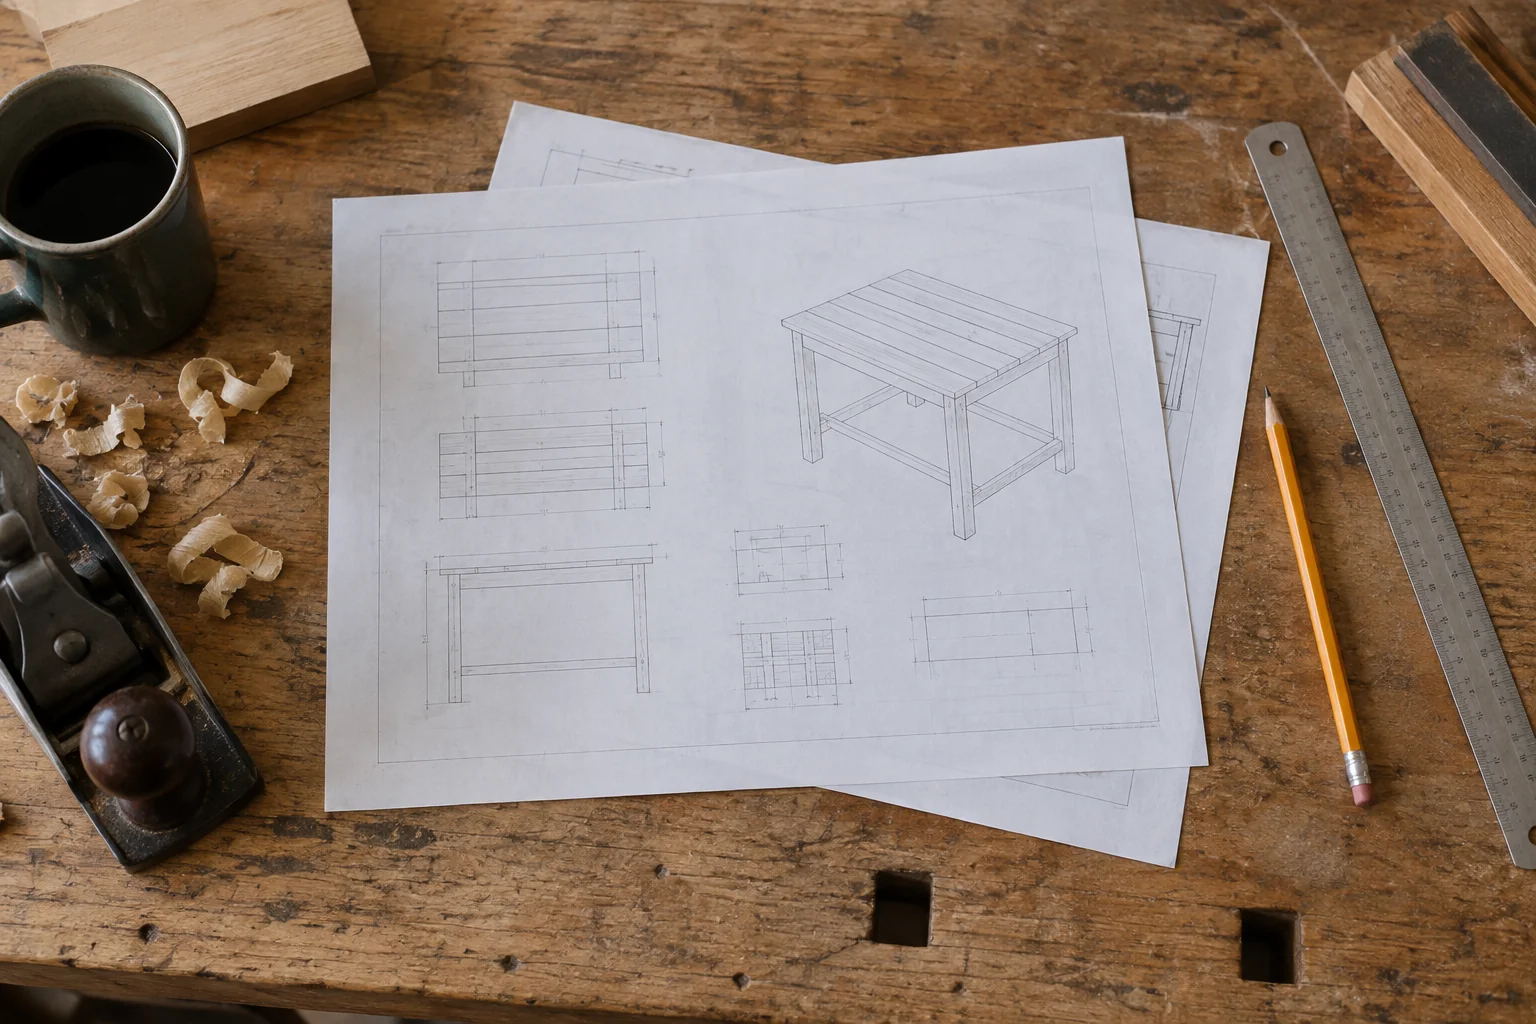
Before using a printed woodworking plan as a template, check that the document is intended to print at full size and that a known reference length survives printing. A page that looks neatly centered can still be reduced. Printed dimensions tell you what the designer intended; the distance you measure on the paper tells you what your printer produced.
This check is for paper output. It does not validate the design, its fasteners or its suitability for a load-bearing project. Keep the original file unchanged and resolve missing dimensions with the plan provider before cutting material.
Decide whether the page is a template or a drawing
Find the plan’s printing instructions, page size, revision and scale statement. A drawing marked with dimensions may deliberately use a reduced scale. A detail enlarged for clarity may have a different scale from the main view. Neither should be traced as a full-size outline without the designer’s explicit instruction.
Look for a printed check square, ruler or specified reference line. If there is none, ask which dimension can be used to verify output. Do not select an attractive-looking edge in a perspective illustration and assume its drawn length represents a physical part.
Check the print setting before using paper
Adobe’s page-size guidance distinguishes fitting a page to the printable area from printing at actual size. Fit can enlarge or reduce the page; Actual size prints without scaling but can crop content that does not fit. Those are different problems, so checking only whether the whole outline is visible is insufficient.
Use the setting required by the plan provider and confirm the selected paper size in both the application and printer settings. Record any additional scaling option shown by the print driver. A screenshot of the preview helps you retrace the setup later, but it does not replace measuring the output.
Make one verification sheet
Print the page containing the reference feature first. Let it lie flat, identify the exact endpoints specified and measure with a suitable ruler. Read from a known graduation rather than a damaged ruler end. Check a second direction where the plan provides one, especially when the page will be used as a physical template.
| Record | What to write |
|---|---|
| File identity | File name, provider and revision |
| Expected output | Required paper size and stated template scale |
| Print setup | Application setting, driver setting and orientation |
| Horizontal reference | Specified length, measured length and endpoints |
| Vertical reference | Specified length, measured length and endpoints |
| Page completeness | Clipped outlines, missing notes or page-registration marks |
| Decision | Verified against provider requirements, or reason to pause |
Use a mismatch to investigate, not to guess
Suppose a fictional full-size plan includes a 100-millimeter horizontal reference that measures 96 millimeters after printing. The output is 96 percent of that reference length. A separate 50-millimeter vertical reference measuring 48 millimeters shows the same proportional reduction. This example suggests a scale-setting issue to investigate; it is not a recommended tolerance.
Recheck the intended page size and scaling settings, then print and measure another verification sheet. Do not silently compensate every dimension in your project notes or enlarge the file repeatedly until one convenient edge looks right. Correct the identified output setting where possible and retain the original design dimensions.
If the two directions show different proportional errors, revisit how you measured and how the file was obtained. A photograph, screenshot or altered scan may not preserve the original geometry. Obtain a clean original file or ask the provider for help rather than treating one corrected reference as proof that every feature is accurate.
Check tiled sheets before joining them
If the supplied plan spans several sheets, follow its registration and overlap instructions. Confirm that the individual pages were printed with consistent settings before trimming or joining them. A correct reference on page one does not verify another page printed later from a different device or dialog setting.
Align the designated registration marks rather than the paper edges alone. Check continuity across a join and keep important dimensions visible. If a line meets at the seam but a reference length across two pages is wrong, stop and investigate instead of stretching, skewing or disguising the mismatch with tape.
Label the useful copy and keep the failed one separate
Mark your verified working copy with the file revision and printing date in an unused margin. Keep the record of measured references with it. Label an incorrect print clearly so it cannot return to the workbench as an apparently valid template.
Repeat the verification when the file, paper size, printer or printing workflow changes. If the plan says not to scale from the drawing, use its written dimensions and instructions rather than overriding that warning because a test line happens to match. The finished check should establish what you know about this particular print, with unresolved questions left visible before any irreversible work begins.