Key takeaways
- Separate countersink and counterbore shapes, diameters, depths and angles with a drawing-reading worksheet before selecting tools.
What's inside
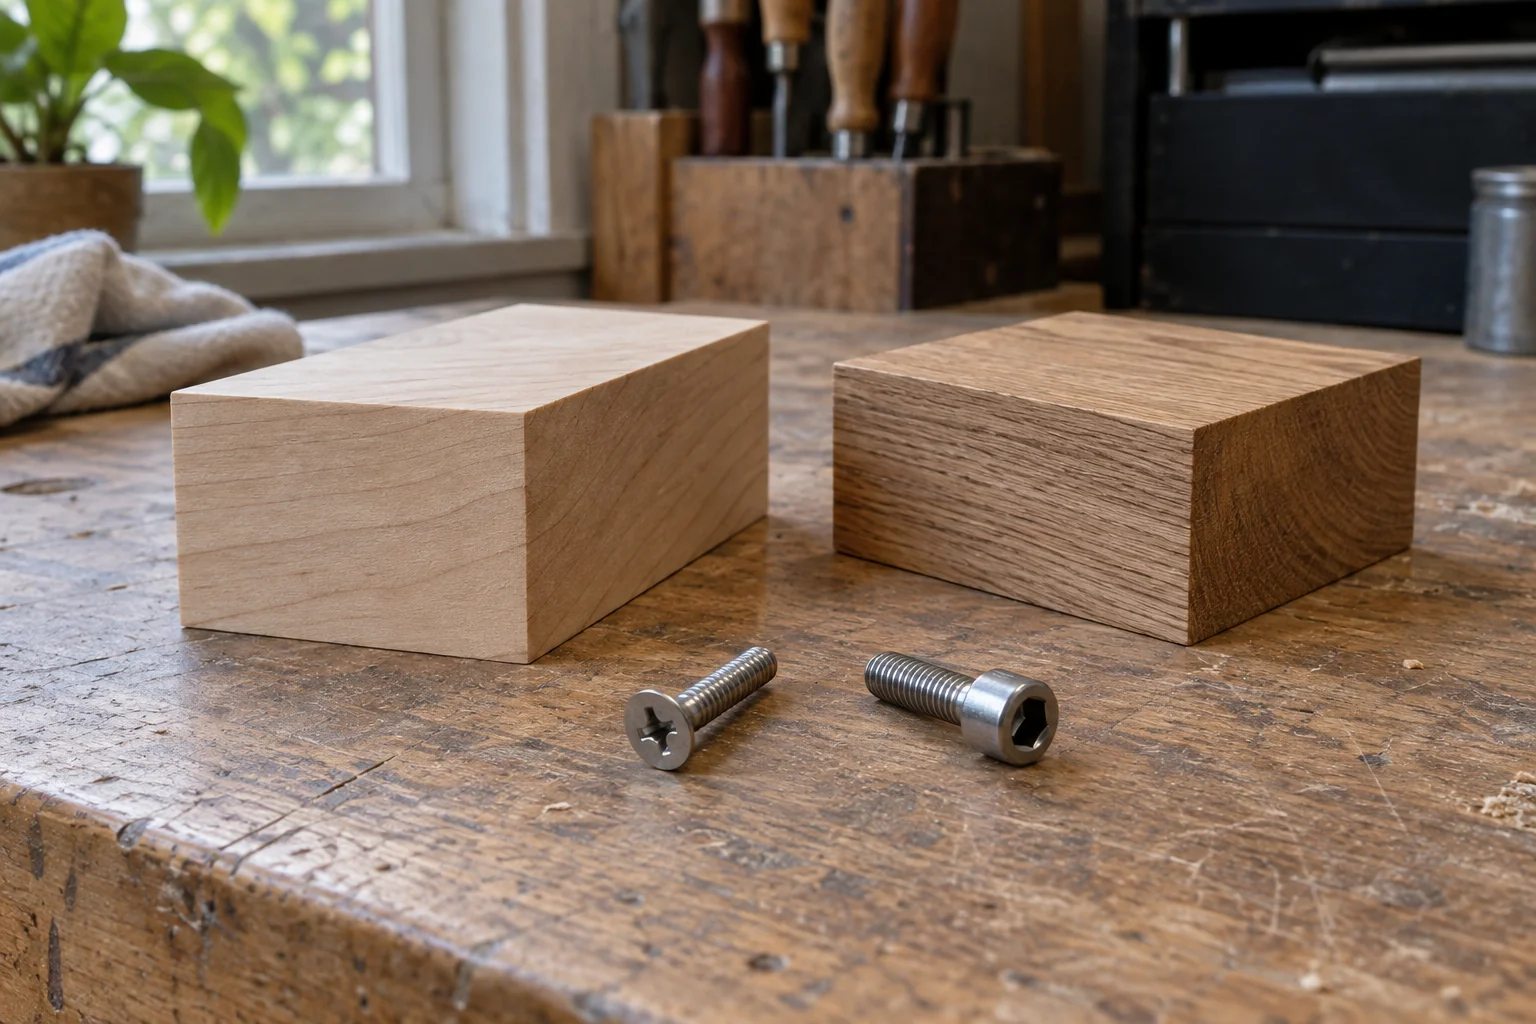
A countersink and a counterbore both enlarge the entrance of a hole, but they describe different shapes. Before choosing a cutter or copying a furniture detail, identify which feature the drawing calls for and read its complete dimensions. Recognizing a symbol is the beginning of the check, not permission to invent a missing depth or angle.
This guide helps organize a drawing query. It does not specify a hole for an unknown fastener or replace the designer’s instructions for a structural or load-bearing connection.
Start with the shape shown in section
Monroe Engineering’s comparison describes the countersink as a tapered recess and the counterbore as an enlarged recess with a flat bottom. That distinction helps you read a section view: one presents a sloping seat, while the other presents a cylindrical pocket with a shoulder.
A top view showing concentric circles may not make the difference obvious. Look for the section, detail view, feature label and drawing legend together. A photograph of an assembled screw head is also incomplete evidence because it may conceal the recess below it.
Read the symbol with its drawing convention
Many drawings use a V-like countersink symbol and a square-bottomed U-like counterbore symbol. Do not rely on that resemblance in a blurred screenshot. Use the original PDF at readable magnification and the drawing’s legend or stated convention. Some notes spell the feature out instead of relying on a symbol.
Autodesk’s hole-note reference treats counterbore and countersink values as separate properties. It is a useful reminder to preserve each field when transcribing a note; a single diameter does not communicate the complete feature.
Copy the whole callout into a reading sheet
Record units and the drawing revision before copying numbers. Keep the smaller hole and the enlarged entrance in separate rows. Preserve any quantity, through-hole instruction, depth, angle, tolerance and side indication exactly as provided. Do not translate an unreadable mark into the value you expected to see.
| Field | Question to answer from the drawing |
|---|---|
| Feature identity | Is the recess a countersink, counterbore or something else? |
| Base hole | What diameter and depth or through condition apply? |
| Enlargement diameter | Which dimension belongs to the entrance feature? |
| Recess definition | What depth, angle or other controlling information is given? |
| Location and side | Which face receives the feature and how many locations use it? |
| General notes | Which units, tolerances and revision govern this view? |
| Unresolved information | What must the designer clarify before work starts? |
Separate a diameter from an angle or a depth
Imagine two fictional notes associated with similar-looking top views. One specifies a countersink entrance diameter and an included angle. The other specifies a counterbore diameter and depth. Copying only the entrance diameter into a shopping list would hide the very information that distinguishes the recesses.
In your worksheet, write the labels alongside the numbers rather than leaving an unexplained sequence. If a note seems to give two depths, inspect its leader and section view to determine which feature each belongs to. Ask for clarification where the drawing remains ambiguous; do not decide by whichever tool happens to be in your drawer.
This example intentionally gives no universal hole sizes or angles. The required geometry depends on the design and the intended fastener, not on a generic rule that every flush head uses one standard recess.
Check the intended fastener without redesigning the joint
Compare the drawing’s fastener designation with the parts list and the actual labeled hardware. A countersunk head and a cylindrical socket head should not be treated as interchangeable just because their threaded portions appear similar. Keep uncertain substitutions on a query list for the designer or supplier.
Also check whether a washer, plug or other component is shown. Its presence may affect how you understand the assembly, but it is not a reason to deepen or widen a recess without authorization. A feature that appears decorative can still remove material the design depends on.
Send a precise clarification request
Save a crop that includes the entire leader, the associated feature and enough of the sheet to identify the view. Include the drawing title, revision and part reference in your question. For example: “Does the note on view B specify a counterbore depth, and from which face is it measured?” is easier to answer than “Which bit should I buy?”
Retain the response with the original drawing. If a revised file is issued, mark the old working print as superseded and check other related notes before resuming. Keep interpretation separate from cutting setup: once the design is clear, the material, tool and manufacturer instructions still govern how any work is performed. A complete reading sheet prevents a recognizable symbol from becoming an unsupported machining decision.