Key takeaways
- Check sanding sheet dimensions, backing and dust holes against your exact tool and pad using a simple compatibility worksheet.
What's inside
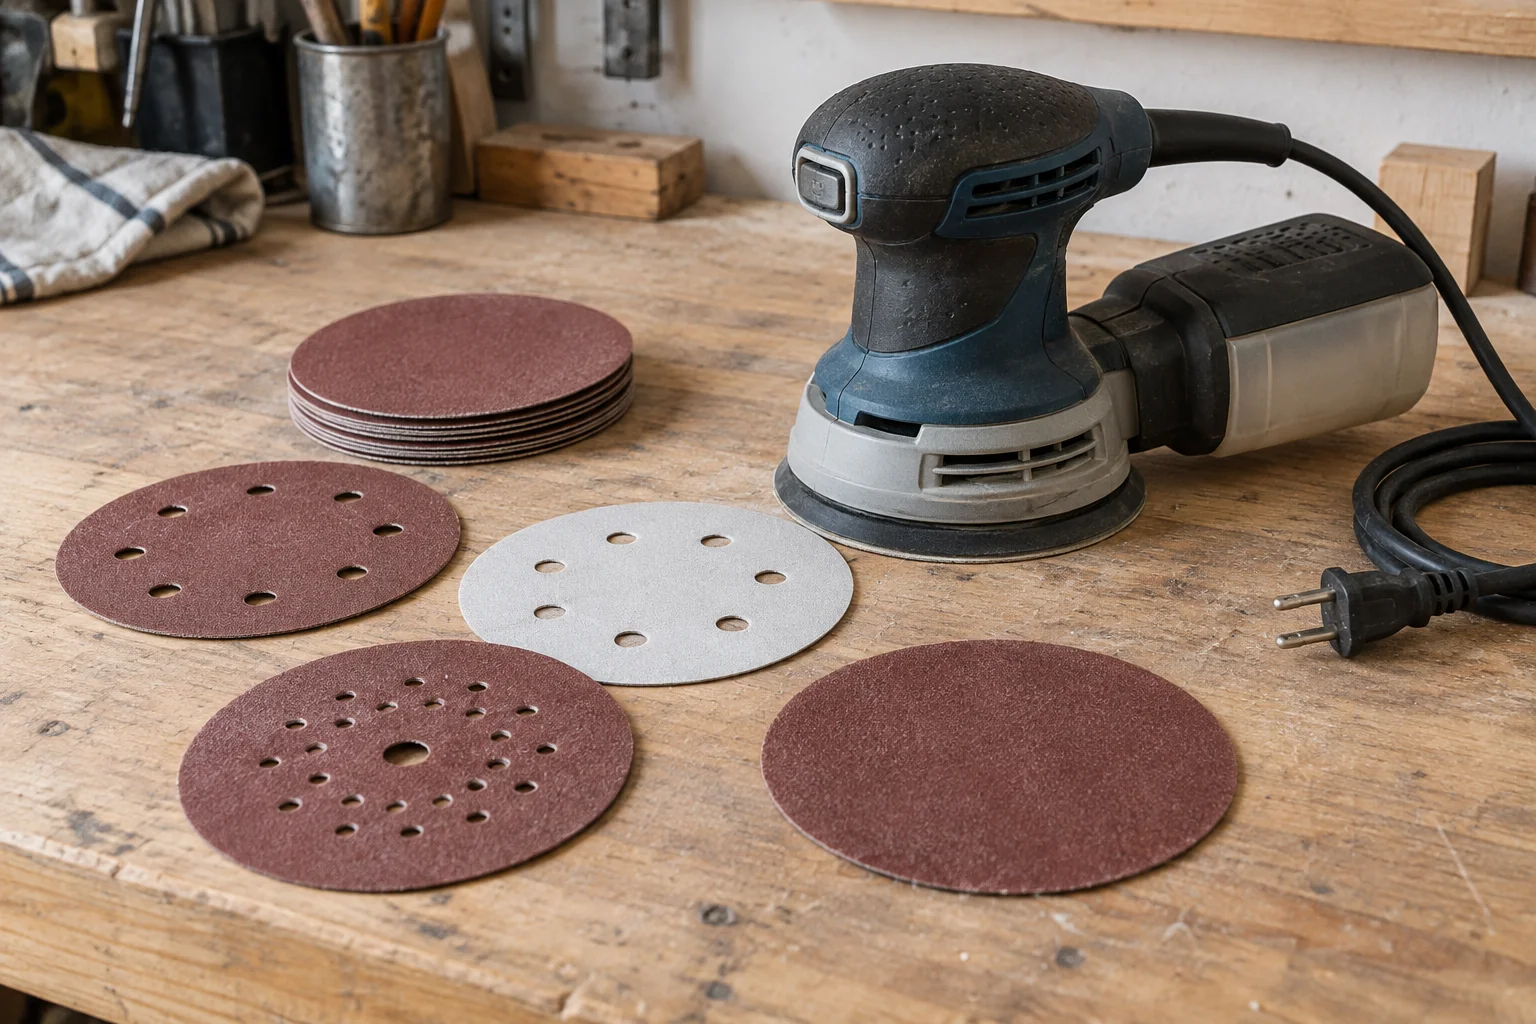
Check a sanding sheet against the sander’s exact pad specification, attachment system and dust-opening layout. Matching the outside shape is only the first check. A disc can look right and still be the wrong replacement because its holes, backing or intended pad system differ.
Find the pad specification before opening a bulk pack
Record the sander model and any type or revision number on its accessible label. Locate its official manual, then identify the current backing pad. If someone has replaced the original pad, the tool model alone may not describe the combination you now own. Ask the manufacturer to confirm an unknown pad rather than buying from its photograph.
For a concrete example, the DEWALT DWE6423 manual specifies a 5-inch disc with an eight-hole dust-extraction pattern and describes aligning the disc’s holes with the pad. That is a requirement for the documented model, not a standard that can be transferred to every random-orbit sander.
Before touching the pad or changing abrasive, follow the tool’s instructions for switching off and disconnecting its power source. Keep this a visual, stationary compatibility check. There is no need to power the machine with a questionable sheet installed.
Make a compatibility card
| Check | Your tool or pad | Candidate abrasive |
|---|---|---|
| Model and revision | Copy exact identifiers | Record stated compatible models |
| Outside size and shape | Manual specification; round, rectangular or detail shape | Package dimensions and shape |
| Attachment | Specified hook-and-loop, adhesive or clamp arrangement | Matching backing or sheet format |
| Extraction layout | Opening count, location and any channels shown in the manual | Pattern drawing or clear rear-view photograph |
| Extra layers | Required pad protector or interface, if any | Manufacturer-approved combination |
| Evidence | Manual page and pad part number | Abrasive part number and official compatibility reference |
| Decision | Confirmed combination, needs manufacturer confirmation, or incompatible | |
Write “unknown” where a seller omits a specification. A photograph of the abrasive face may conceal the backing, while a title such as “universal sanding sheets” does not answer a model-specific compatibility question. Request the missing detail before committing to a large package.
Compare positions, not just the number of holes
For a perforated sheet, compare the layout drawing with the pad diagram in the manual. Note whether holes sit near the center, around the perimeter, or in more than one ring. With a compatible sample and the machine safely disconnected, follow the manual’s positioning method and check the intended alignment before securing it.
Equal hole counts do not establish equal spacing. Likewise, a similar diameter does not settle whether the sheet is intended for your pad. If a drawing has no scale, use it to identify the pattern, not to infer exact measurements from your screen.
A paper outline can help you organize measurements, but label it “reference only” and keep it off the operating tool. Do not treat a homemade template as permission to enlarge holes, trim a disc or modify a backing pad. Some sheet sanders provide a documented punching method; follow that model’s instructions only when it applies.
Recognize when the abrasive uses a different system
Mesh is not simply a perforated paper sheet with extra holes. Festool describes its 80 × 133 Granat Net abrasive as an open net structure that does not require alignment to a hole pattern. That feature does not establish compatibility with an arbitrary tool. Check the specified format, attachment and any required supporting accessories.
Keep grit choice separate from fit. Two packages may both say P180 while using different dimensions or backings. In your storage organizer, group by confirmed tool-and-pad combination first, then by grit. Keep the package part number or a photograph with each group so the next purchase is repeatable.
Use a clear stop rule
A fictional comparison illustrates the decision: the manual names Pad A and Abrasive Series B; a sale pack lists only “five inch” and shows an unclear hole pattern. Your card remains “needs confirmation,” even if the pack is inexpensive. Ask the seller for the exact part number and use the manufacturer’s documentation to resolve it.
If a confirmed abrasive will not attach as described, stop and check the approved inspection instructions or contact support. Do not use extra adhesive, alter the holes or run the tool to see whether it stays on. Fit verification also does not prove that the sanding setup controls all dust from your intended material. Follow the separate material, extraction and protective-equipment instructions before starting the job.